Last week I talked all about why you should learn to take your own photos, so this week we’re ready to dive into the beginner guide to using a DSLR for your blog photos.
When you first start using a DSLR for your blog it can be really confusing. There are so many things to consider for creating your own styled stock photos for your blog.
I have talked about what to do with your stock photos once you already have them. Now we’re breaking down the step-by-step guide to using a DSLR for your blog photos.

Beginner Guide to Using a DSLR
When I was first learning to use my DSLR I searched everywhere for info about how to use my camera. I would have loved a beginner guide to using a DSLR!!!
I found some old textbooks from a film course I took in college. I was able to use that to get real basic info figured out from these books.
Later I started reading all kinds of blogs and watching all the videos I could about photography, but I really just wanted it to be in ONE place! So here it is for you ;)
USE LIGHT
Light is the number one thing in photography. I mean figure out this one thing and you’ve pretty much got photos in the bag.
Really once you find good light you’re in the clear. Being able to correctly use the light and get the correct exposure is the biggest thing you can do to improve your skills with your DSLR and your photography skills in general.
Types of Light
Are you looking for the light and bright photography or dark and moody photography? The type of light you use can also help to define your style.
Also are you using natural light to take photos or are you going to master lighting. If you’re starting out I strongly suggest you don’t invest in lighting equipment yet. You can take really amazing photos learning how to use natural light.
You need to decide what your photos will look like. If you need help figuring out what style photos you want to create I completely got you covered! I have a FREE 5 day email course that will walk you through knowing your style and creating your style. How you use light will create the style you love for your brand and blog.
FREE 5 Day Email Course
Build Your Photo Brand Collateral

Know Exposure
Exposure is the combination of ISO, aperture, and shutter speed that gives you the correct light for your photo. People refer to it as the exposure triangle.
ISO affects the grain in the photo. Aperture is how we get the creamy dreamy backgrounds. While Shutter speed affects movement in a photo. You can play with each of these parts of the exposure triangle to get the kinds of photos you want with your camera!
Know Your DSLR
If you want to be able to take amazing photos then you’ll definitely want to know how to use your camera. I know this is very cliche advice, but seriously read your camera manual.
When you read your camera manual you will know how to make your camera do exactly what you want. Take the guesswork out of using your camera. You also learn about all the other great things it can do that you might use later ;)
You need to know how your camera works in order to just take photos. Take the time to figure out how your camera functions so you’re not lost doing the basic things like snaping a photo on a timer.
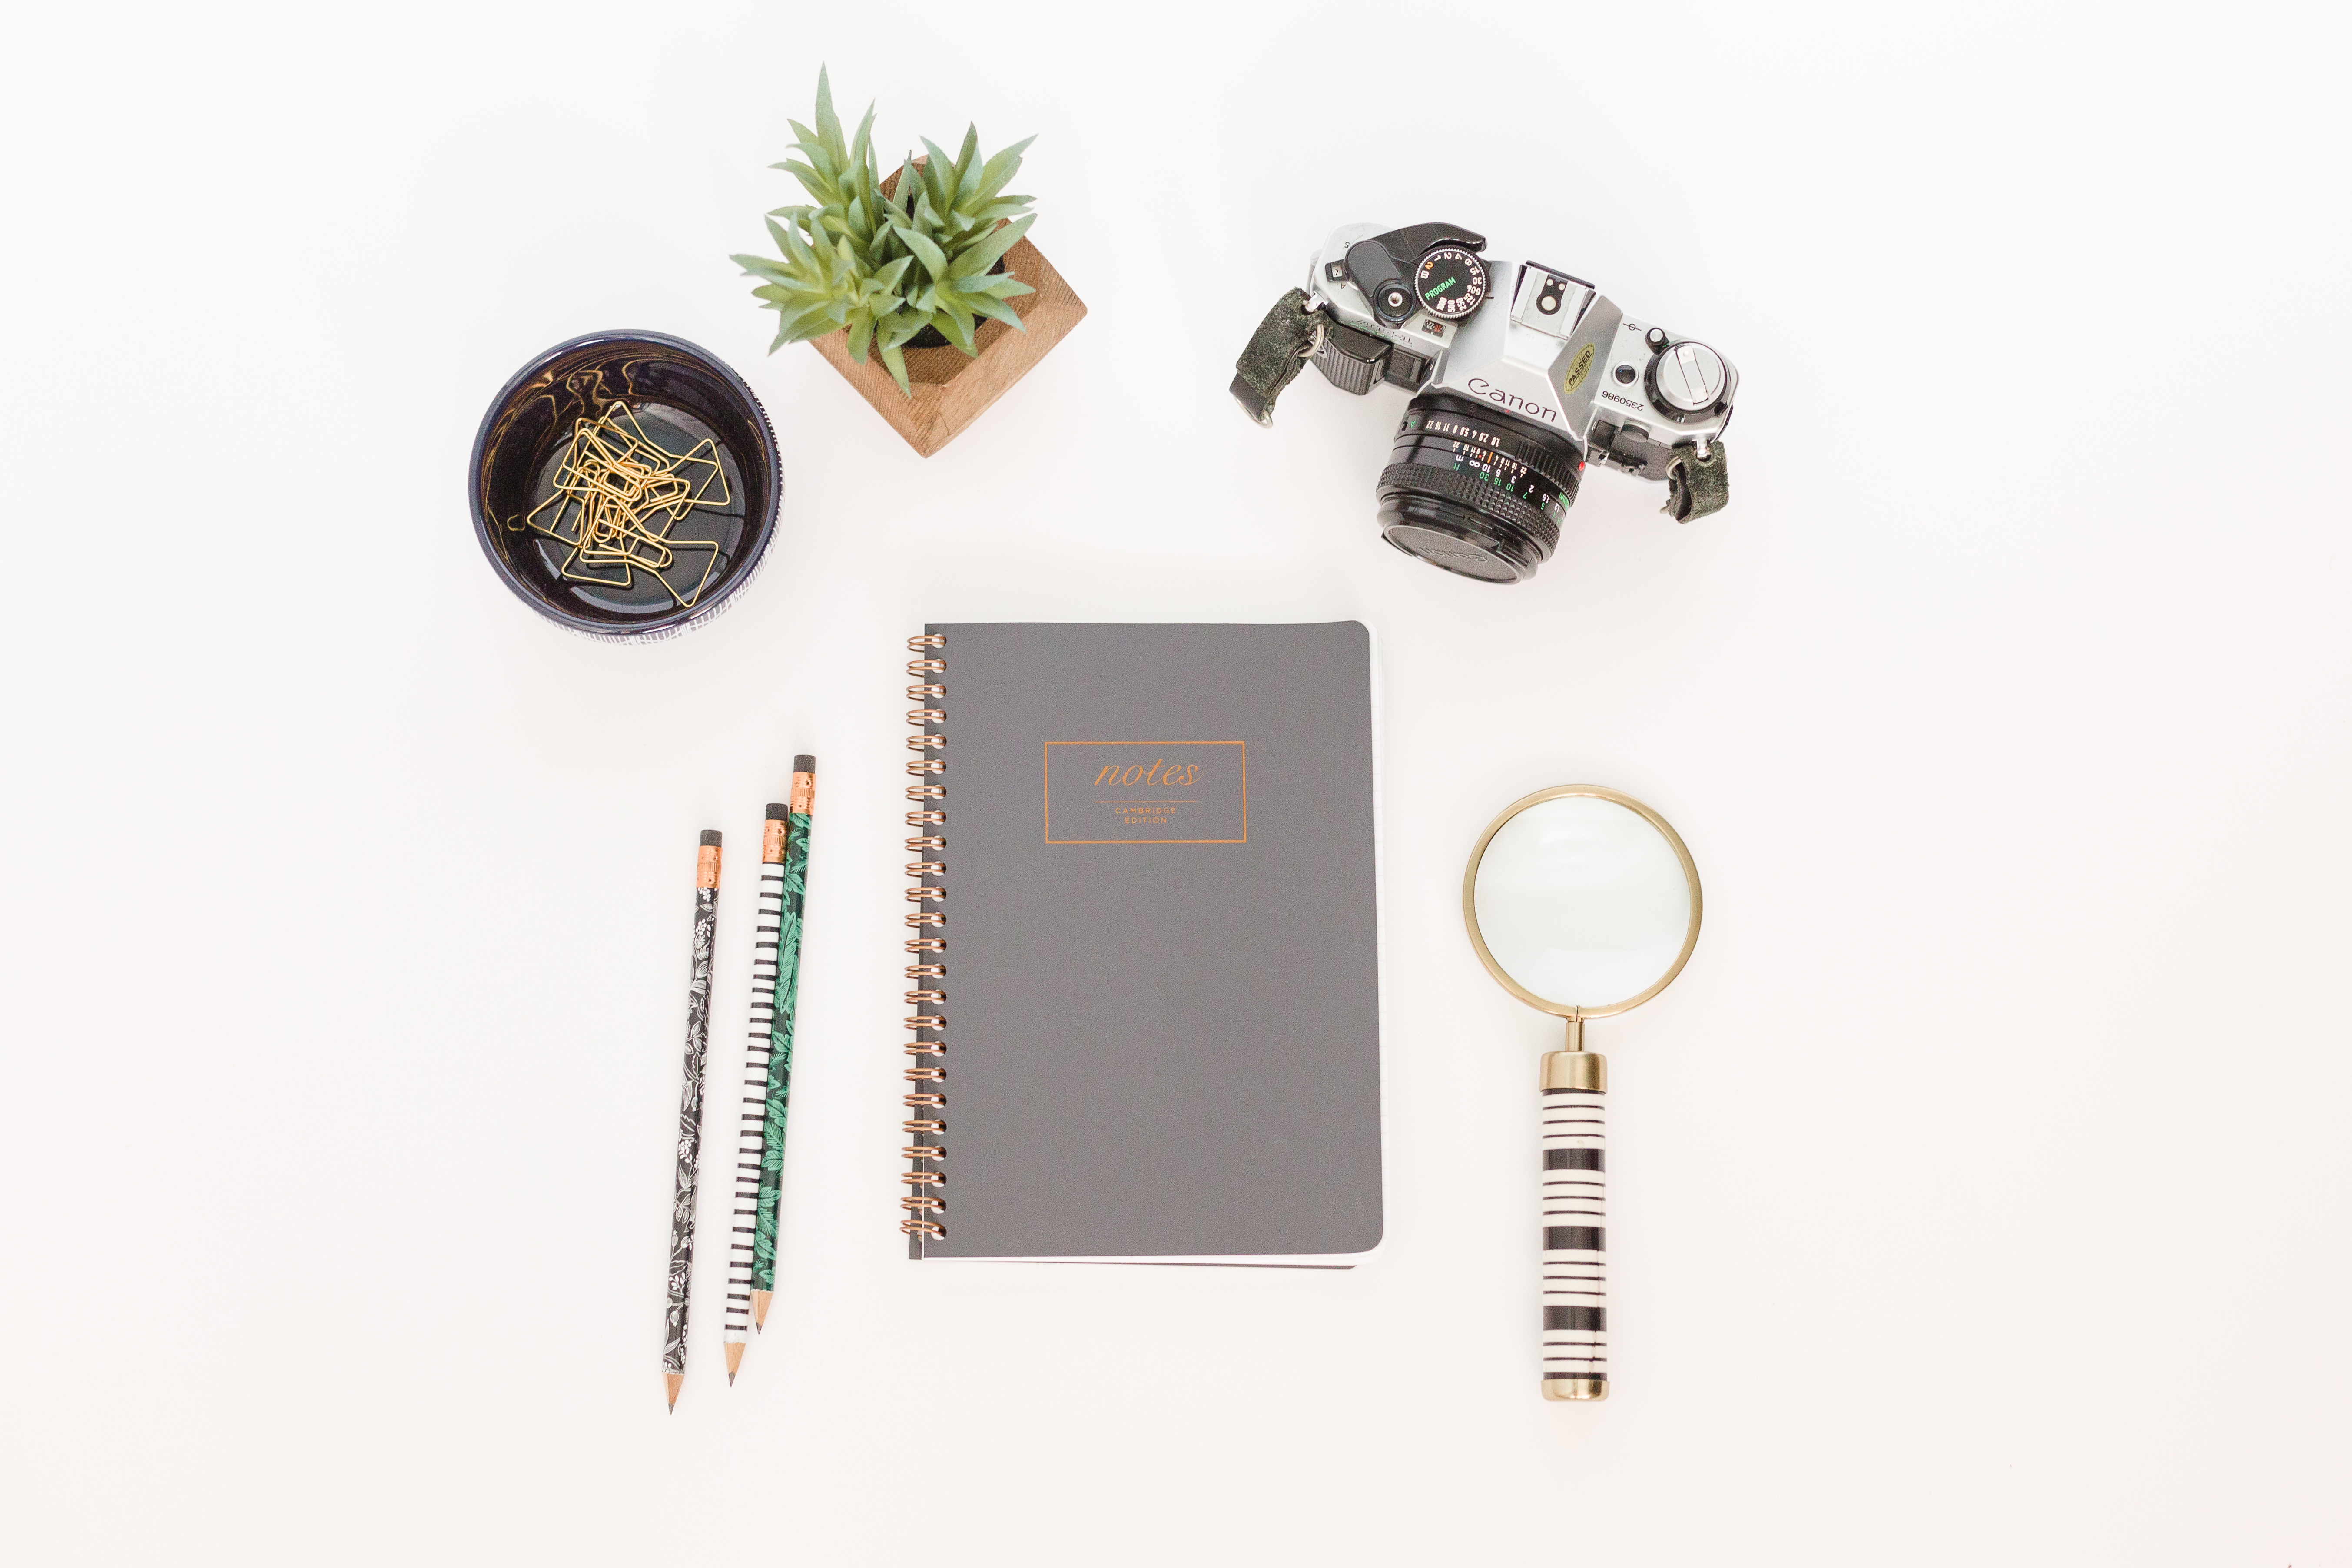
Trust me! I even follow my own advice. I recently got an old Canon AE-1 film camera to play with. I hadn’t shot film since college, but I realized right away I needed to learn how my camera worked.
I found the manual online and just played with being able to adjust settings so I knew how everything functioned before I even put a roll of film in. Once I got the film in the camera I was ready to go, and I didn’t waste any film.
Learn to Shoot in Manual (AUTO VS MANUAL)
When given the option auto vs manual I would choose to shoot in manual every time. You get far more control over your image. Even when you’re just beginning with your DSLR it makes sense to figure out manual mode.
Manual mode is when you pick the right settings to get a photo that is well lit (or has the right exposure ;).
You get to decide what the image looks like. This gives you the power to create images that speak to your style.
Learning to shoot in Manual allows you to decide the style of the image. You can play with the aperture and shutter speed to get more creative styles out of your images.
The Camera isn’t Always Right
Here’s just one more vote for learning to shoot in Manual Mode. The Camera isn’t always right! Sometimes when the camera is in auto the sensors can get confused by the information coming into it.
A mostly light background or a mostly dark background will often make the camera think you need to adjust settings more drastically than actually need to. In these situations the camera might decide to make the photo much lighter or darker than you intended. IF you learn to shoot in Manual you can fix this problem ;) So choose to shoot in manual.
Edit Your Photos for Real
Learning to edit your photos the way you want is one of the keys to getting photos that represent your blog. Later in this blog series we will talk about the best editing tool, but for now know that learning to edit your photos will only enhance your final product.
There are different styles and moods that you can evoke with the way you edit your photos. One of the ways to truly build your brand is to edit consistently.
RAW vs JPEG
Snapping photos in RAW or JPEG can be a really heated debate in photog world. I’m just going to share why I save in RAW.
I shoot images in RAW in camera because that way when I make a mistake it doesn’t cause too much distortion to the image if I decide to go in and fix it with major changes.
Let’s face it we all make mistakes sometimes and you don’t you want to have the ability to make it better. Saving in RAW rather than JPEG is just more forgiving.
Once it’s time to share my images with the world, and I’ve edited them just the way I want, then I save in JPEG. To read more about how I save it read this. (I was making a mistake that was ruining images for online).
Practice, Tweak, & Repeat
So once you have your camera the only way it’s going to improve is if you take the time to practice. Figure out what type of light makes your heart sing. Figure out what settings work best for your style. Pay attention to how your images come out because once you figure out taking photos you’ll want to perfect composition. There’s always more to learn so just keep taking action.
To get even more knowledge dropped make sure to sign up below for my FREE 5 day email course to build a stash Photos that show off your brand!
The FREE 5 Day Email Course
Build Your Photo Brand Collateral
