Have you ever posted a photo to your website and freaked out because the color looked awful?
I have!
I needed to find the best way to save photos for online.
Early on in my blogging and photography days I was looking at some of my photos on the blog and freaking out. The colors were just off!
I mean really off. They didn’t look right at all. I kept comparing the photos on my computer to the same photos that were posted and couldn’t figure out the problem.
The colors weren’t vibrant. The photos looked desaturated and not in a pretty way (some people have a more desaturated editing style that works for them)! It was driving me crazy because I couldn’t figure out what was going on. I had saved the photos the same way I saved all my photos or so I thought.
I tried taking them off the blog post and reloading them into the post.
I tried taking them off the website and uploading them again.
Nothing was working!
I was convinced all of my photos would look a mess from this point forward, and I didn’t even know why, so frustrating!
The Best Way to Save Photos for Online
Once I finally checked my settings for when how I was saving them. This is when I figured out I wasn’t saving with the correct color profile for the web: sRGB.
I’ve never been so happy to figure something out!
So friends when saving RAW files for the web its sRGB in the color space.
This is why I love Lightroom! You can ensure the correct color profile is saved when you’re using Lightroom or photoshop. I’ll walk you through both of them below.
Why Saving Correctly Is Important
When you save in the wrong color profile you run the risk of your photos not looking like they’re supposed to online. You don’t want people thinking your product doesn’t look right. Pictures are one of the first points of contact with a product business and when they’re not appealing people keep moving.
If you need to know more about taking amazing photos for your handmade or creative business I walk you through step-by-step in my actionable FREE email course Build Your Photo Brand Collection! Sign up below!
Saving Photos Using Adobe Lightroom or Photoshop
How to Save in Photoshop
You’ll start by opening up Photoshop. Go to file and choose to export the file this way you can choose how to embed the color profile if you just choose to save as a jpeg you don’t get the option to add the color profile.
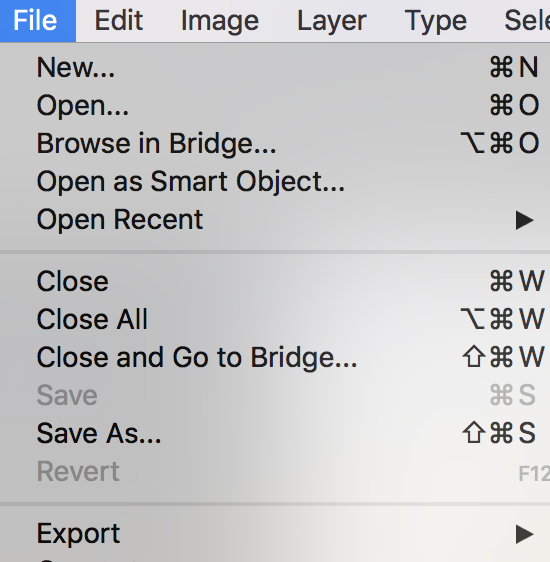
Next choose Export as…

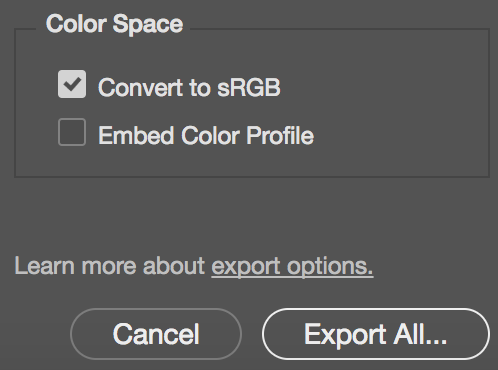
Once you click “export as” you get to decide on the color space. Click export all and then save. Then you’re Done!
How to Save in Lightroom
Once you have Lightroom open, you’ll need to be in the Library module and have your photos selected.
![]()
You’ll choose Export on the bottom left.
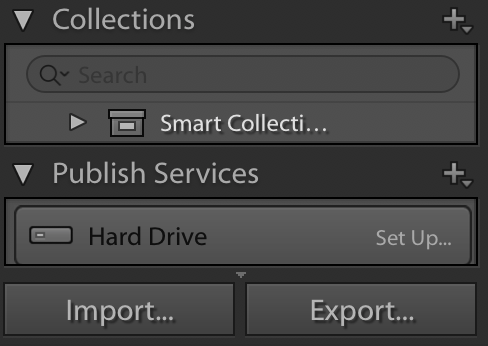
This dialog box opens.
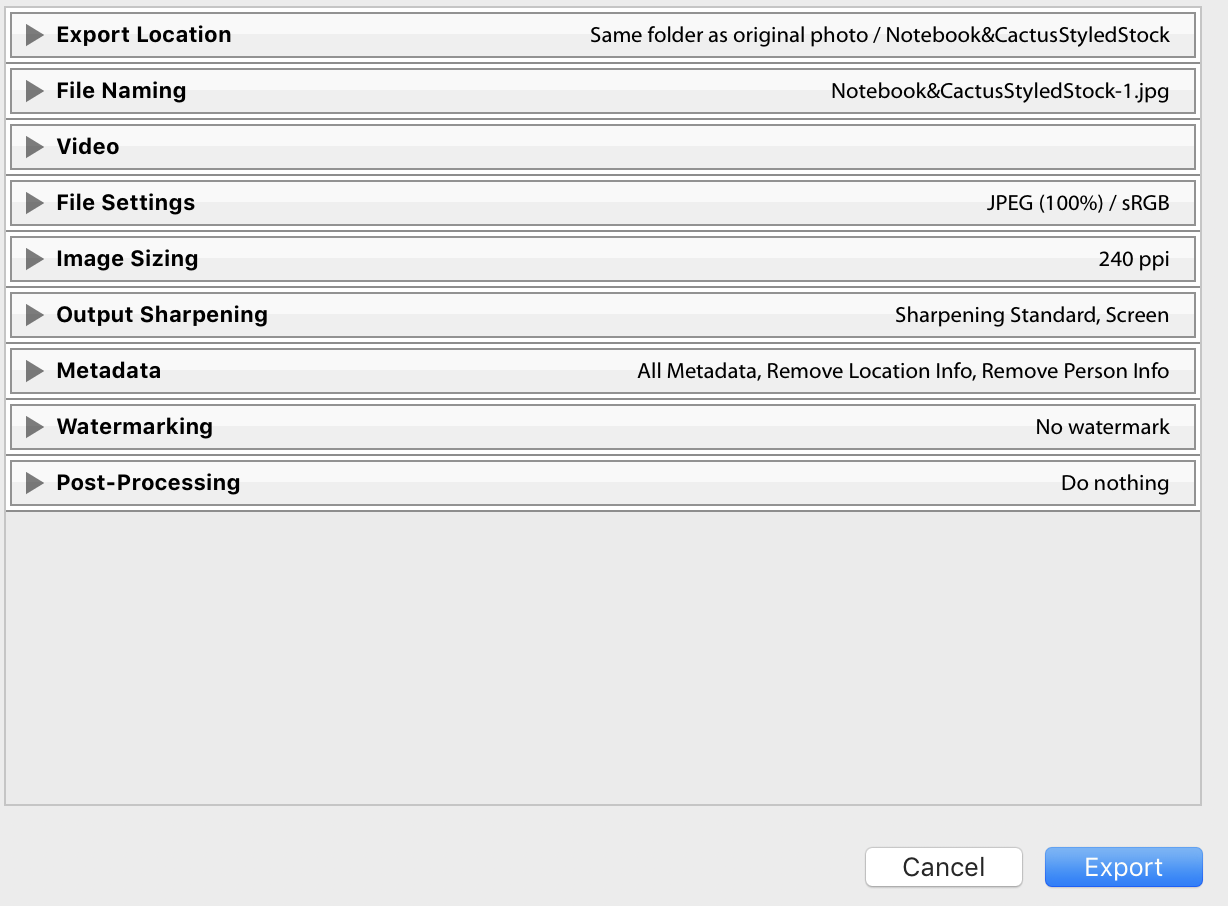
You’ll want to go into File Settings and choose sRGB for your color space.

And you’re Done!
These are the exact steps I take to make sure that I’ve saved in the right color profile and avoid any meltdowns over bad coloring on the web!
If you don’t have Photoshop or Lightroom you can get them both for only $9.99 a month!
If you’ve been struggling to take the photos you want for your creative biz sign up below for my FREE email course Build Your Photo Brand Collection!
If you want to read more here are the other posts in this series The Ultimate Guide to Blog Photography for Creatives
*Some affiliate links are in the post.